|
|
www.virgomoon.com |
Kilimanjaro Buddhapada Amulet |
 |
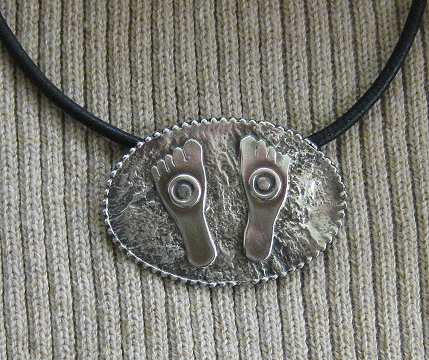 The KilimanjaroBuddhapada Amulet. It has been oxidized and polished to emphasize the details.
|
||
|
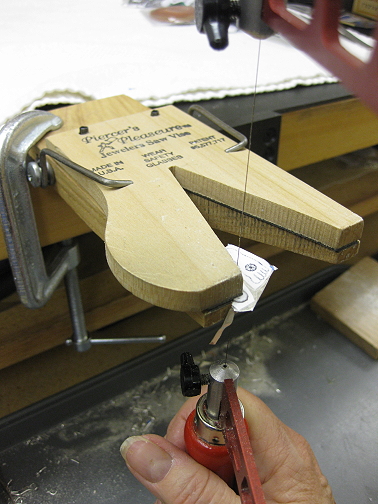
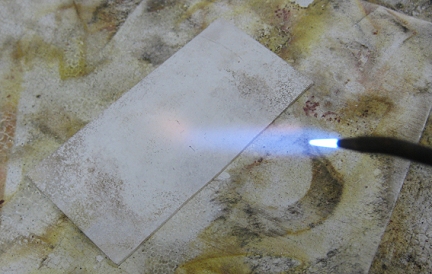 Photo 1 The reticulating silver must be heated and pickled (soaked in acid) about 10 times before the surface will start to crinkle up. Here it is at heating number 6. It still looks like a flat sheet of silver.
|
||
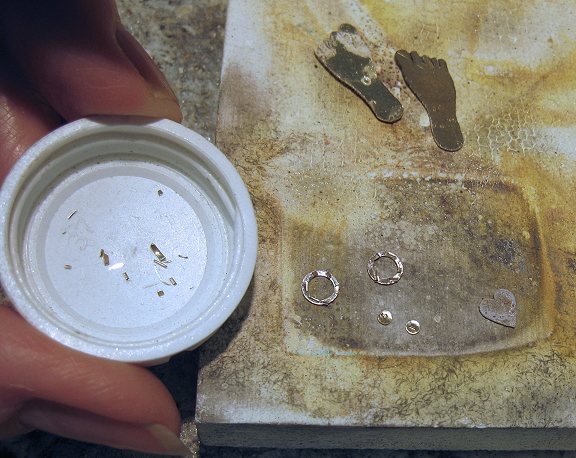
Photo 2 While I'm waiting for the sheet to get pickled (that is, for the acid to remove the copper that comes to the surface and oxidizes when reticulating silver is heated), I cut out the footprints. They are 30 gauge sterling; the reticulating silver is 20 gauge (much heavier). . |
|||
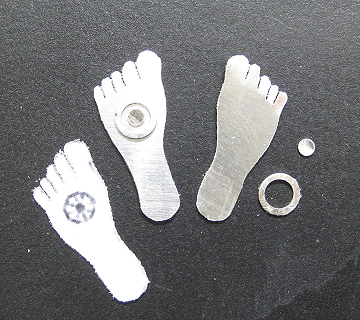 Photo 3 Here is the pattern, the silver footprints and the wheel (dharmachakra) parts.
|
|||
Photo 4 I'm putting tiny bits of silver solder on the backs of the wheel parts. Silver solder is silver alloyed with zinc to make it melt at a lower temperature than the sterling. Still, with a 2,000 degree torch it is easy to melt everything, especially these tiny pieces of very thin silver. The wheel is even thinner than the footprints, 32 gauge. |
|||
|
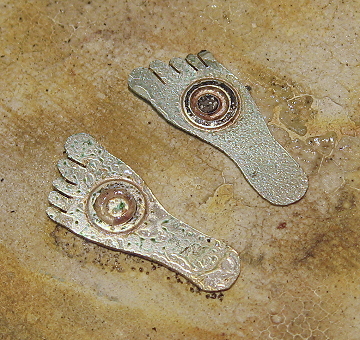
Photo 5 Whew, wheels have been soldered onto the footprints. They look like a mess because of the firescale preventive. They'll be pretty once everything is put together and polished.
|
|||
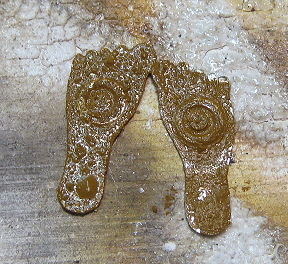 Photo 6 I covered the footprints with a resist so in theory solder won't flow onto the tops when I silver the backs then solder them onto the amulet. |
|||
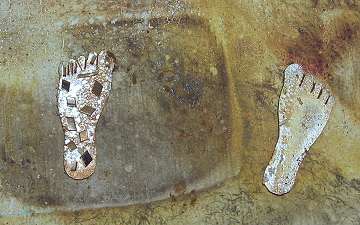 Photo 7 Here we go again with tiny bits of solder on the backs of the footprints. |
|||
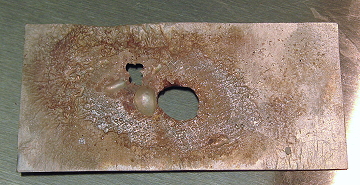 Photo 8 Back to the reticulating silver and... disaster. A giant hole popped open right in the center. I guess I was too aggressive with the torch. |
|||
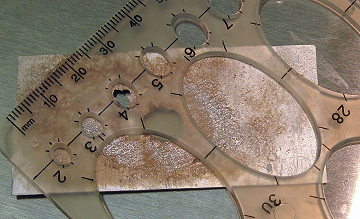 Photo 9 It looks like maybe I can still get the amulet cut out if I can finish reticulating the silver without creating any more holes. Silver work can be quite frustrating! I decided it was time to "step away from the torch!" for the evening.
|
|||
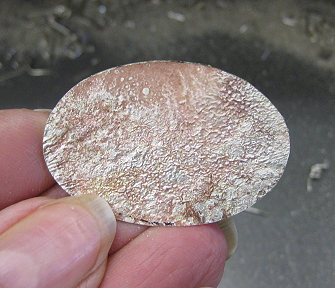 Photo 10 Whew. I was able to get a nice piece. |
|||
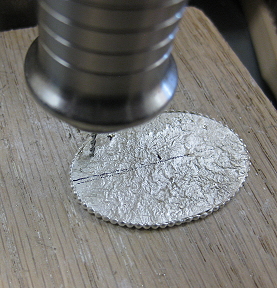 Photo 11 Here I've already added bead wire around the circumference and am drilling little detents to strengthen the solder join for the attachments. Careful not to drill all the way through!
|
|||
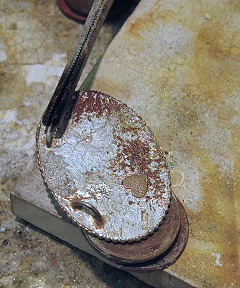 Photo 12 Soldering the attachments and the heart on the back. It always looks like a mess at this point... |
|||
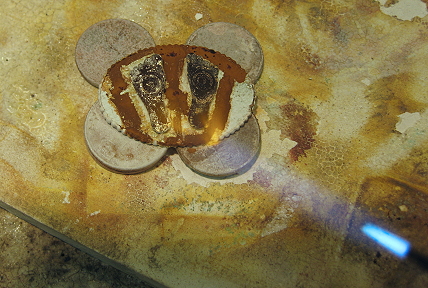 Photo 13 Finally soldering the footprints on the front, bracing the back so the attachments don't fall off. Silver transfers heat instantly throughout so it's easy to ruin a completed solder join while making another. I have various solder ranges but there are a lot of steps here so I have to depend on the fact that a solder join forms an alloy with a slightly higher melting point than the original solder.
|
|||
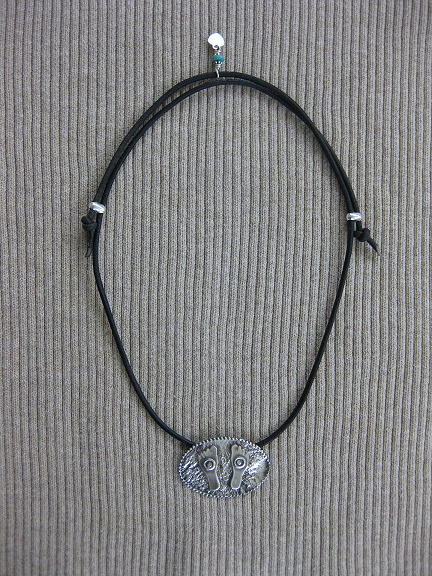 Photo 14 These sterling cord slides allow the necklace to easily slide over the head then adjust for the proper wearing length (shown here at about 16"). My maker's tag moves about easily on the cord so shouldn't be uncomfortable for sleeping, etc. It is attached with a bit of turquoise which has long been thought to prevent falls, and is also said to help oxygenate the blood and increase the amount of prana in the physical body. |
|||
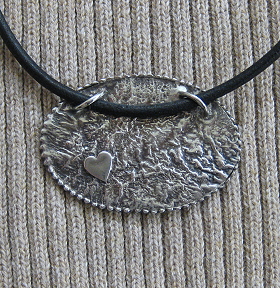 Photo 15 Back with heart. |
| Home | Add me to mailing list! | Contact Us | About Virgo Moon | Privacy Policy | Site Map |
All designs © Mary Hicklin 2001-2010